


furrycat's 3D Studio MAX weapon modding tutorial
Defining materials
OK let's press on and actually finish the jobs needed to be able to export this weapon out to SWAT. We now need to apply a texture to the gun or the .gsm exporter won't let us continue. Before we can do that, though, we must create a material.
Open the Material Editor and create a new Multi/Sub-object material with two sub-objects.


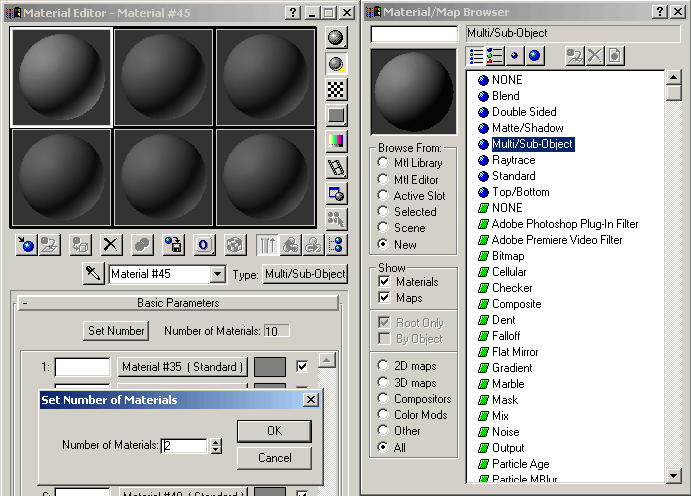
Make the first one a diffuse map, as shown in the illustration below.
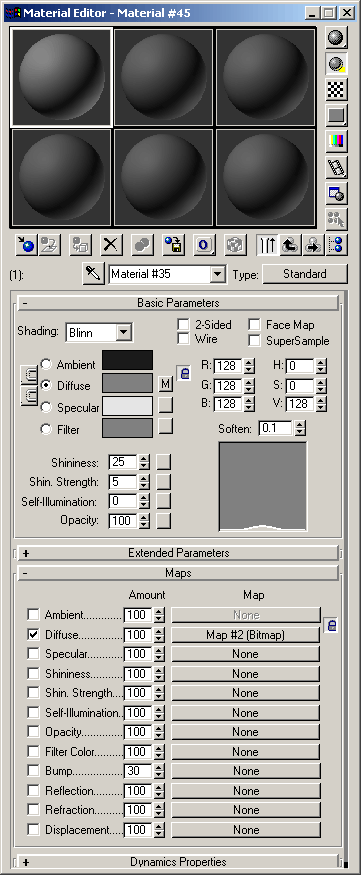
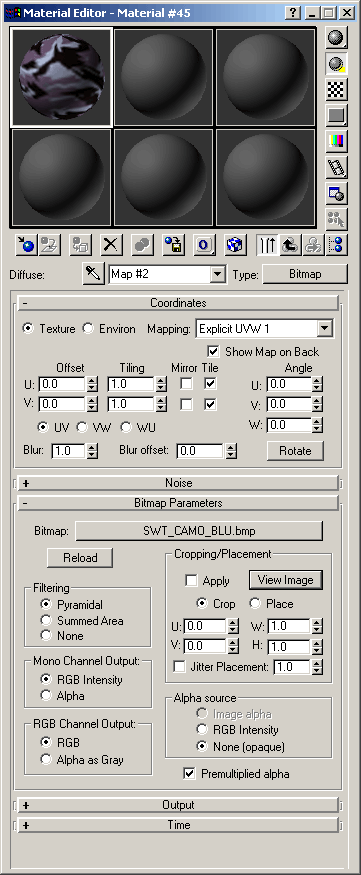
When you click the diffuse map button (labelled "None" the first time but thereafter showing the new material name) you will be taken to the bitmap properties window. Next to the word Bitmap is a blank button. Push it to choose your texture file.
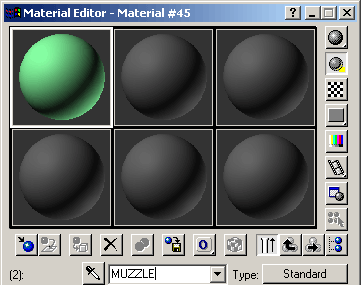
The second material will locate the muzzle flash. There's no need to set a texture map to it but you must name it MUZZLE.
Of course I haven't set anything about UVW maps and how to get your materials and textures to look good. This tutorial is not about how to make 3D models, it's about how to export them for SWAT3. Any tutorial you can find which tells you about modelling and texturing techniques is valid.
In the next section we'll actually apply the textures to the model.
Jump to a section
| intro | part 1: First steps | part 2: Making the mesh | part 3: Defining materials | part 4: Applying materials | part 5: Exporting the model |