furrycat's Milkshape weapon modding tutorial
Bones
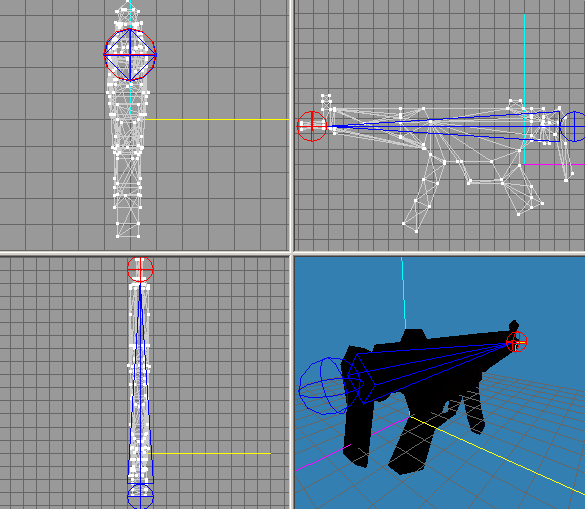
Use the Joint command (shortcut key F8) to position two joints. Place the first somewhere near the butt of your weapon and the second somewhere near the muzzle. They do not have to line up exactly with these points. The important thing is that the line connecting them be parallel to the barrel (and hence to the purple axis).
With your joints created, you must assign all vertices to the root bone. To do this, select the first joint from the Joints tab, then select all vertices with Control-A and finally hit the Assign button.
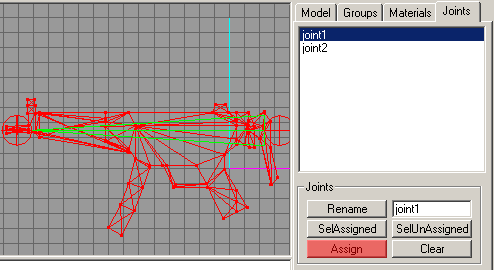
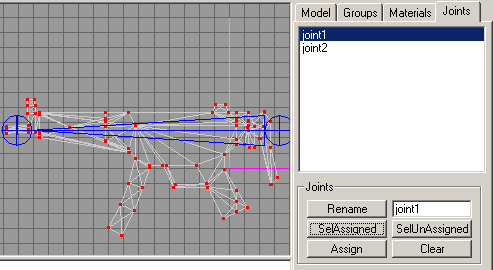
Use the SelUnAssigned and SelAssigned buttons to verify your assignment.
In the next section I'll explain how to import your model into SWAT3.
Jump to a section
| intro | part 1: Basic weapon concepts | part 2: Weapon orientation | part 3: Materials | part 4: Bones | part 5: Importing the model with gsmhacking |
